I am an artist who practices primarily in textile mediums and ceramics, combining techniques such as hand-built pottery, hand embroidery, natural dyeing, and drawing.

I am an artist who practices primarily in textile mediums and ceramics, combining techniques such as hand-built pottery, hand embroidery, natural dyeing, and drawing.

Place the pattern on a flat surface, the the transfer paper on top, shiny side down. Use the inner part of the hoop as a guide to draw a circle around the pattern, then cut the pattern and transfer paper out
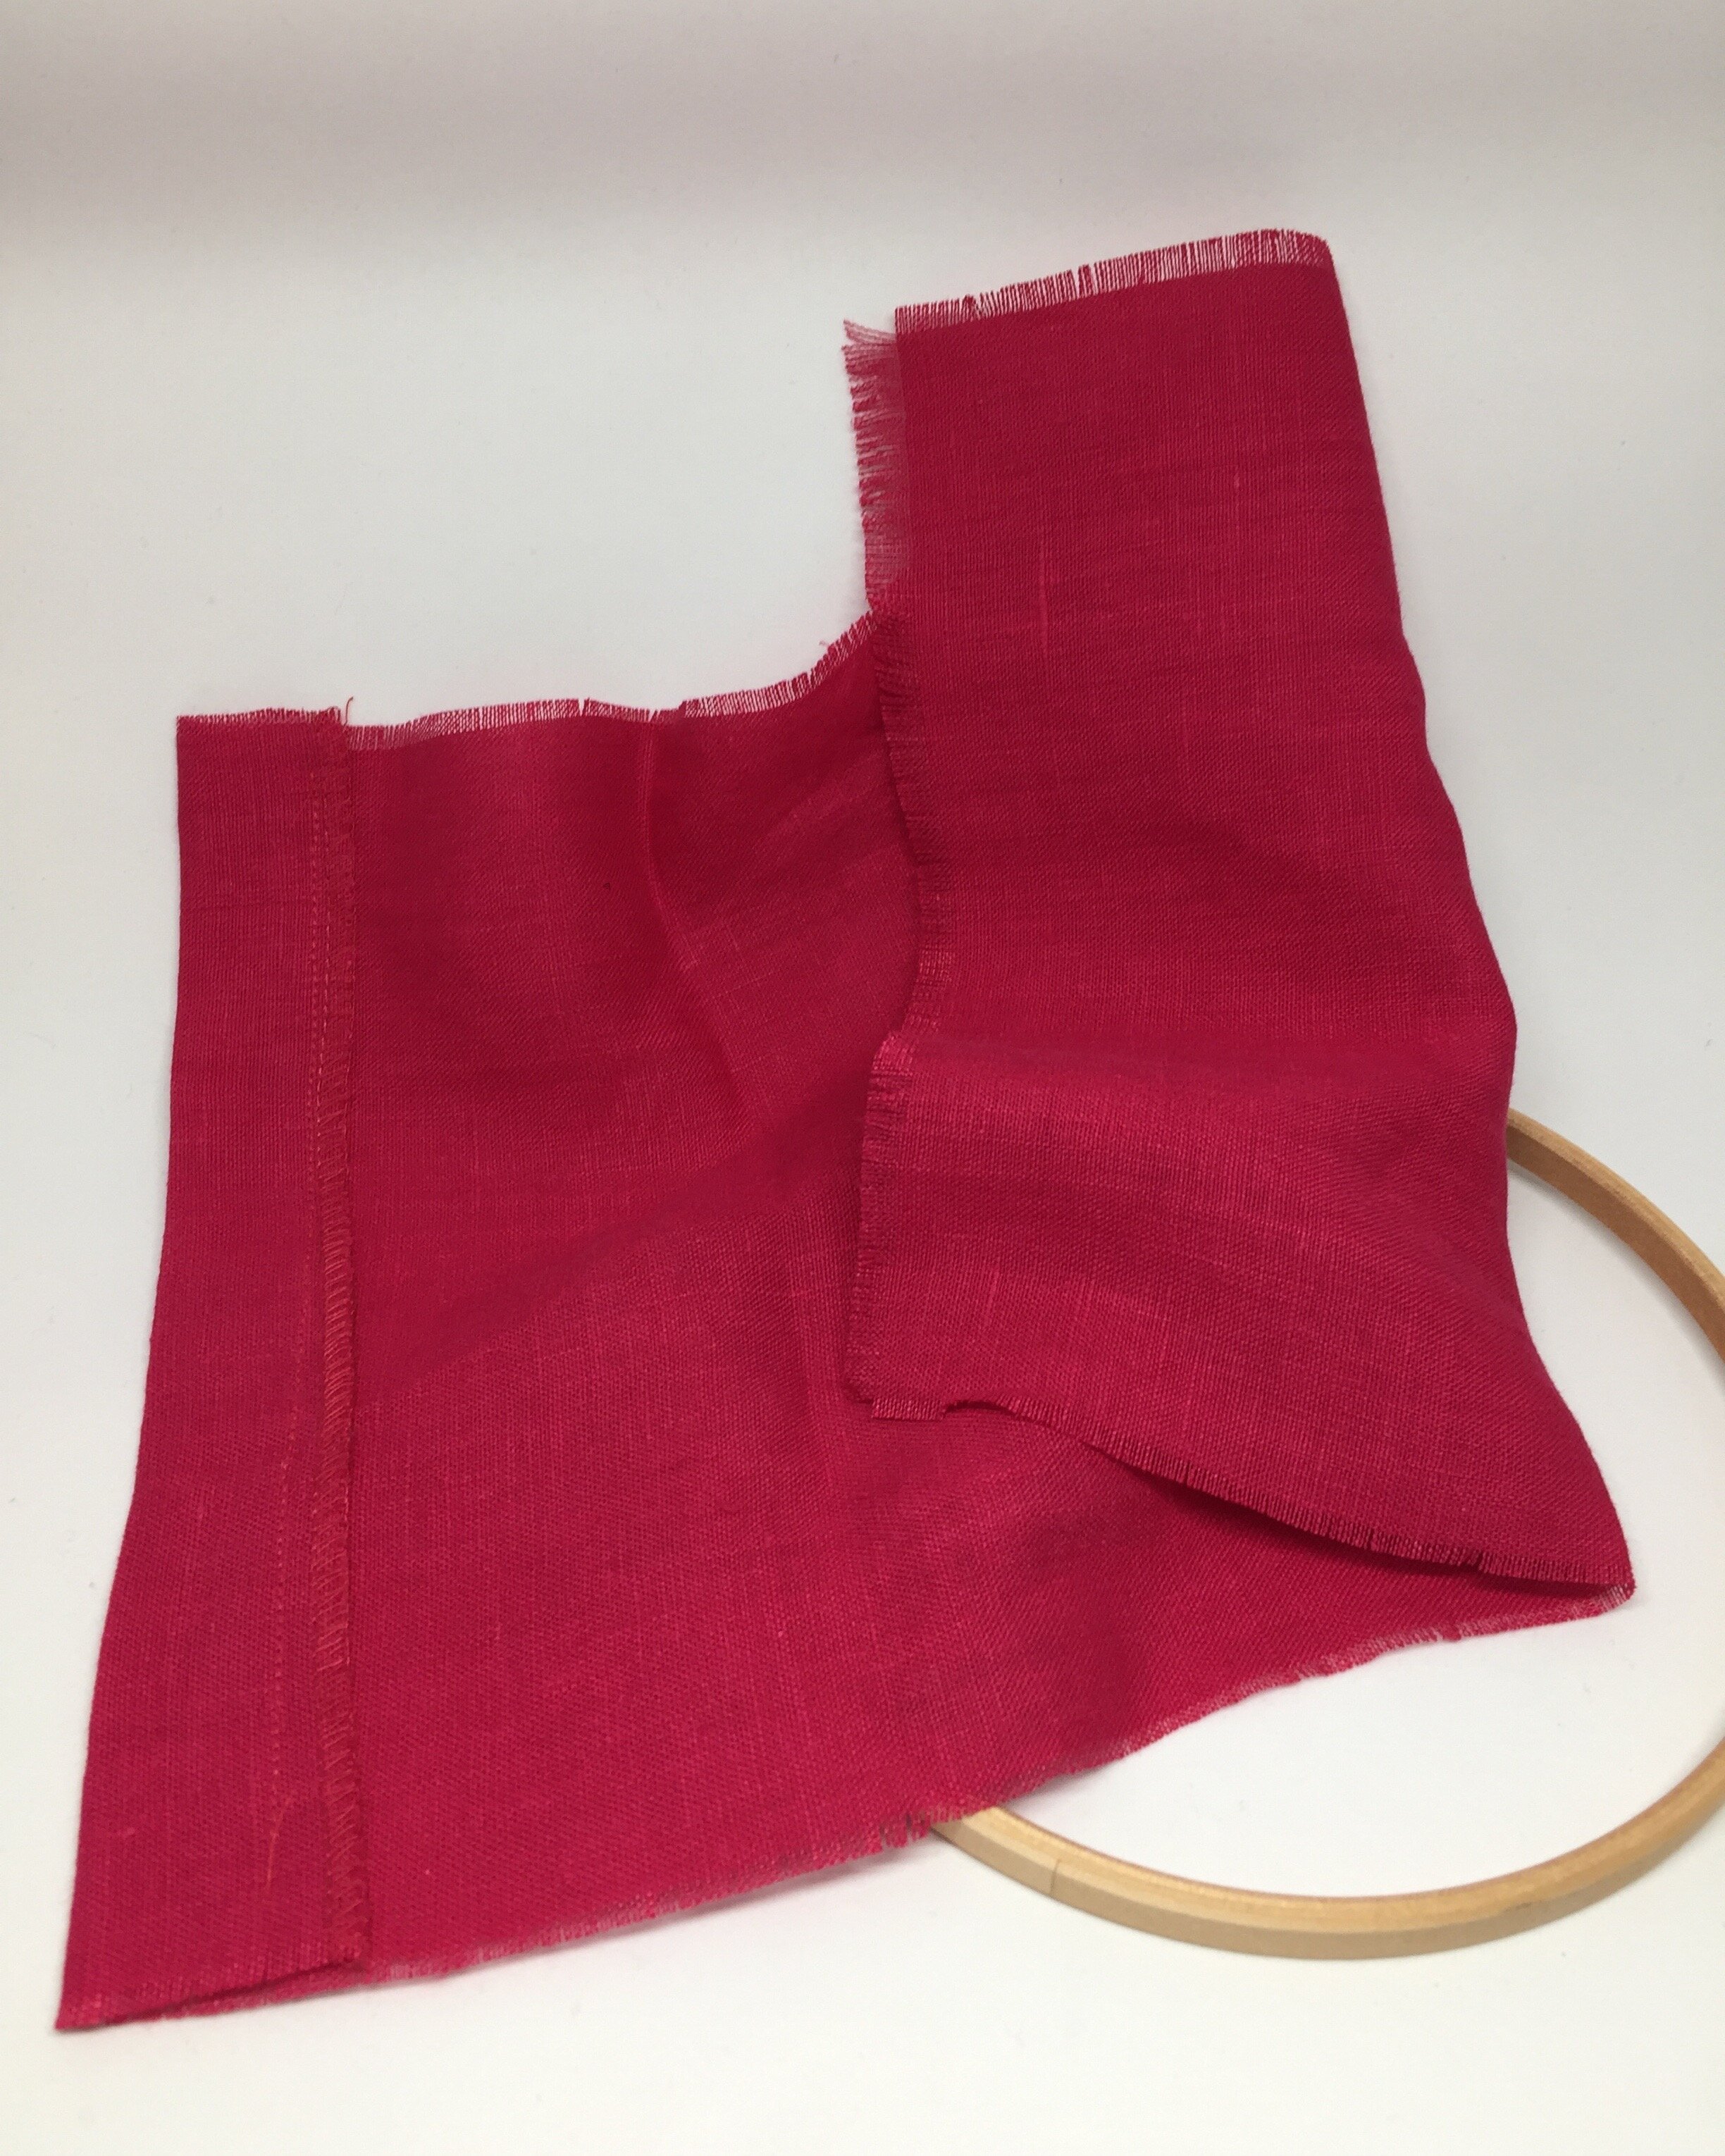
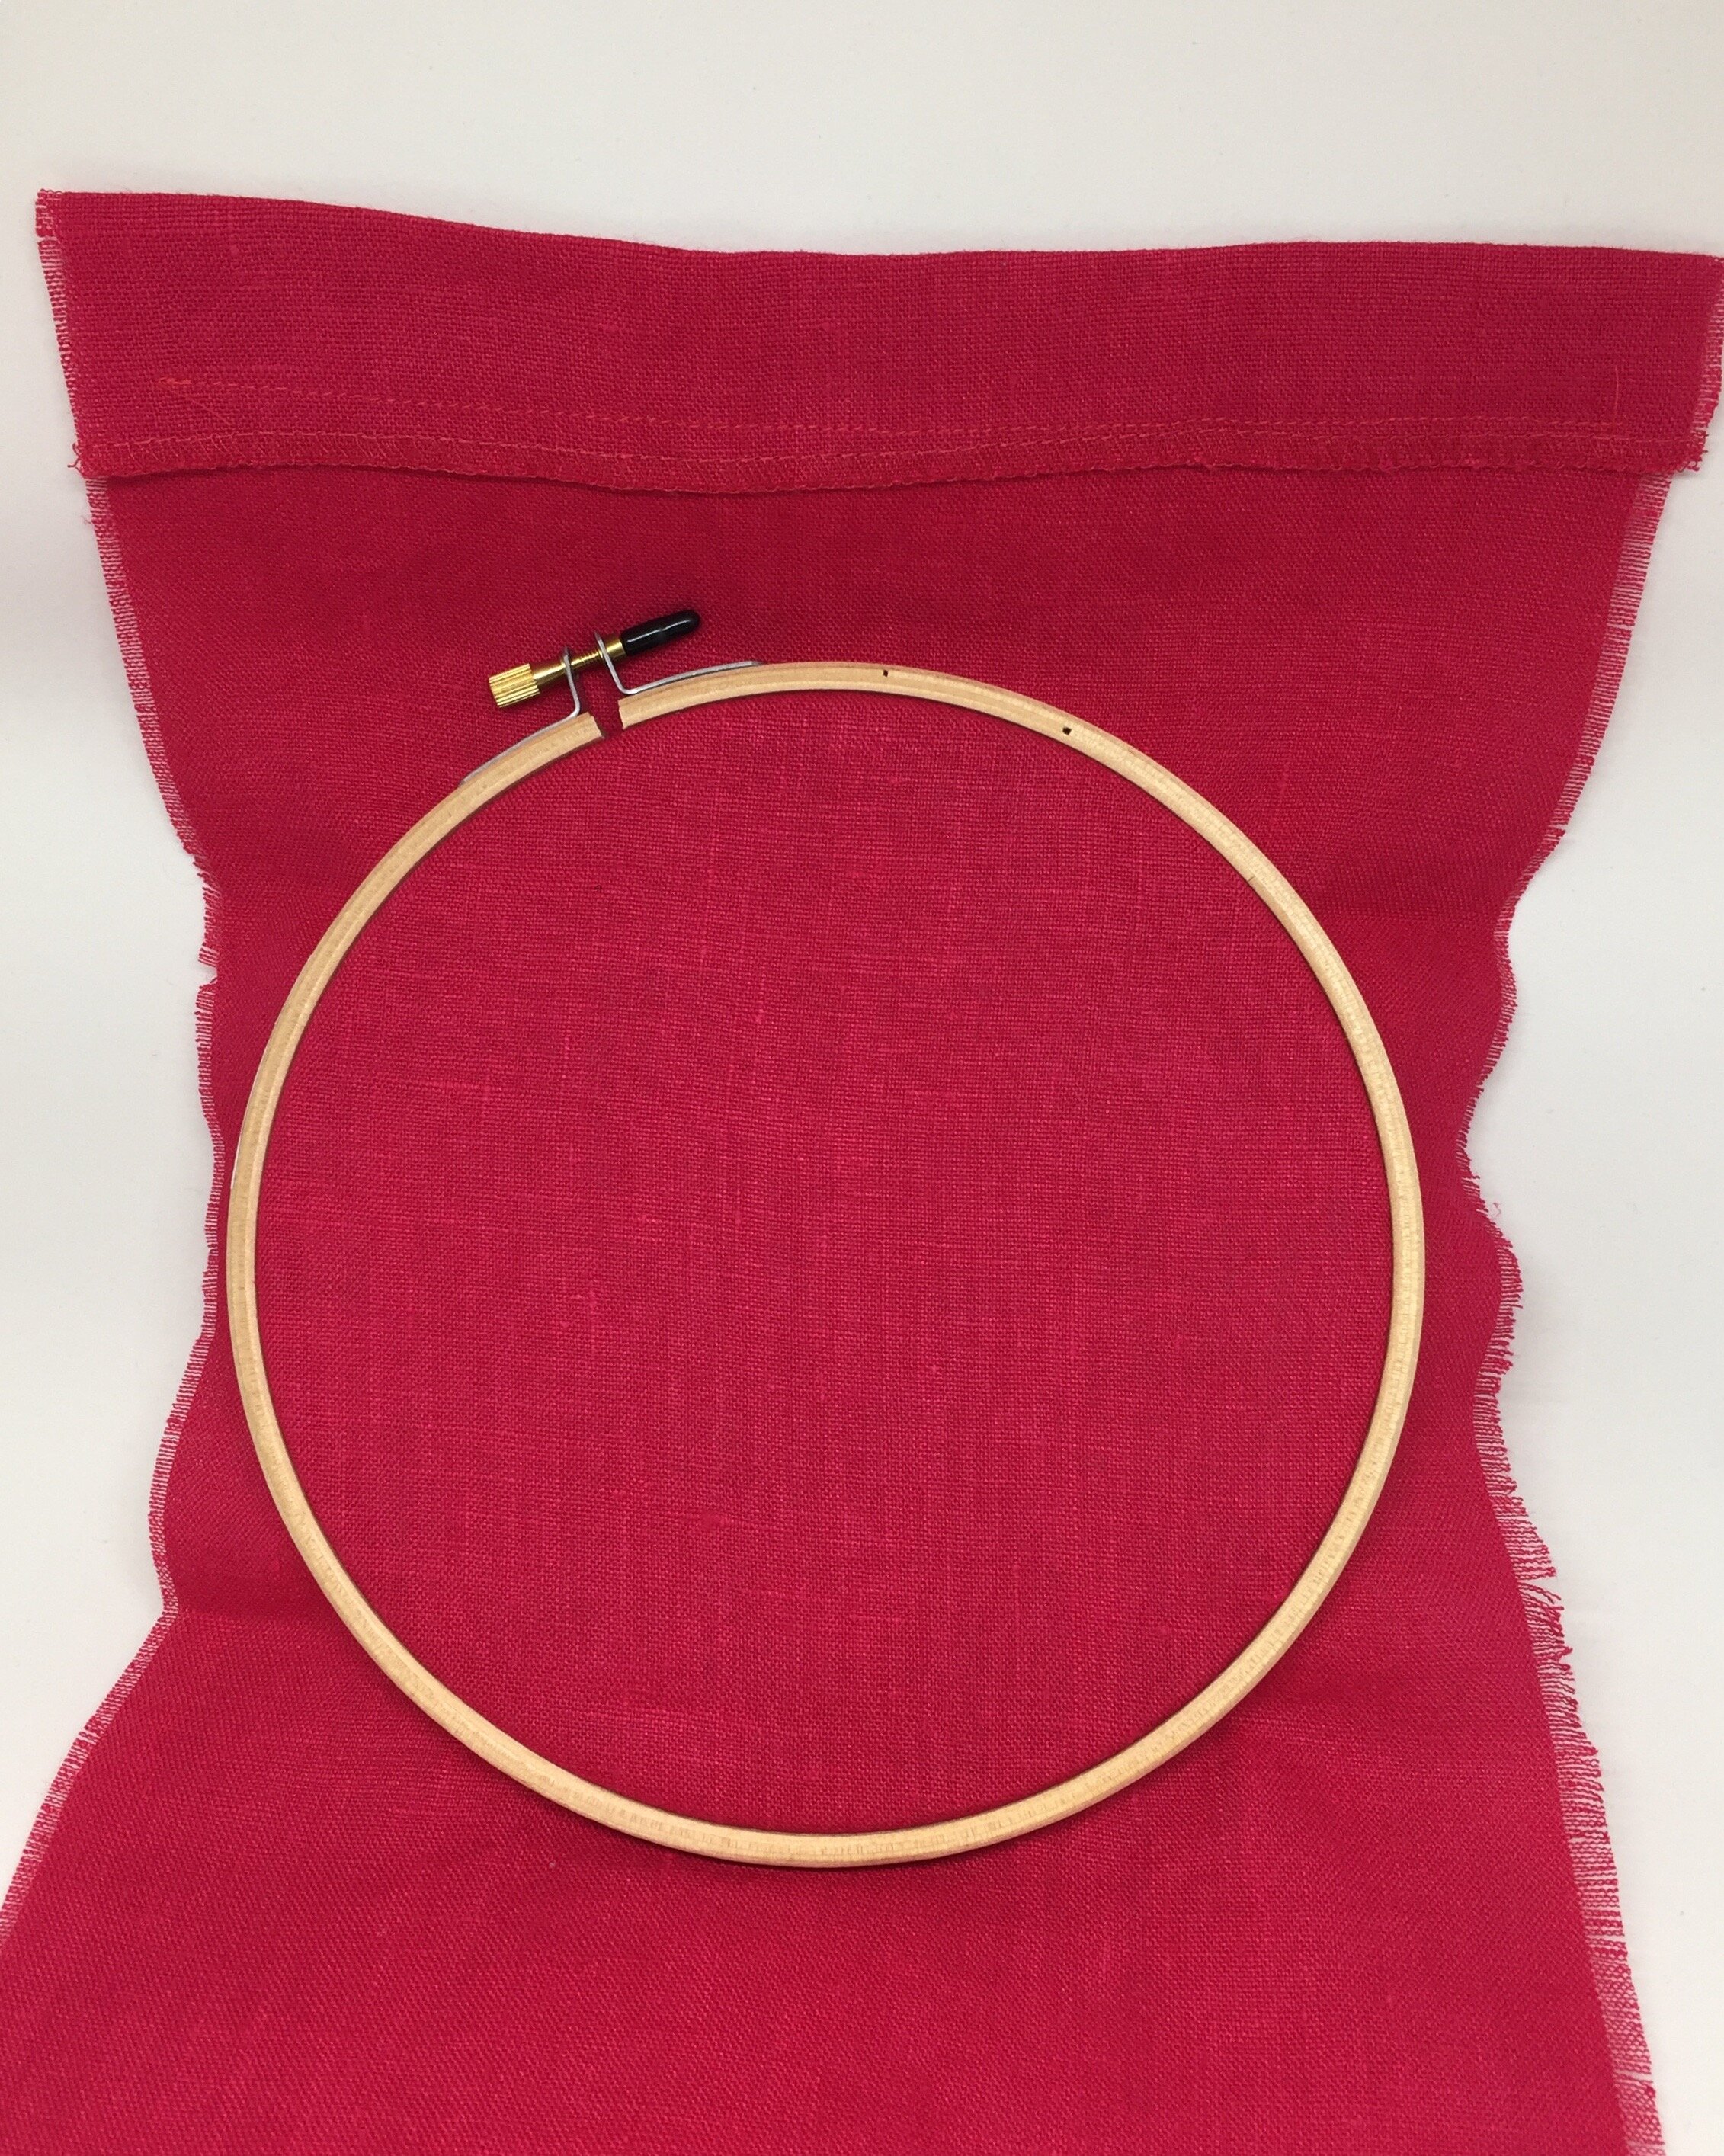
Centre inner half of the embroidery hoop under the fabric (the side without the screw), wrong side of the fabric facing up
Place the top half of the hoop over the fabric and press the two sides together. Pull the fabric evenly on all sides until it is taut like a drum. You may need to loosen or tighten the screw to help the fabric pull tight
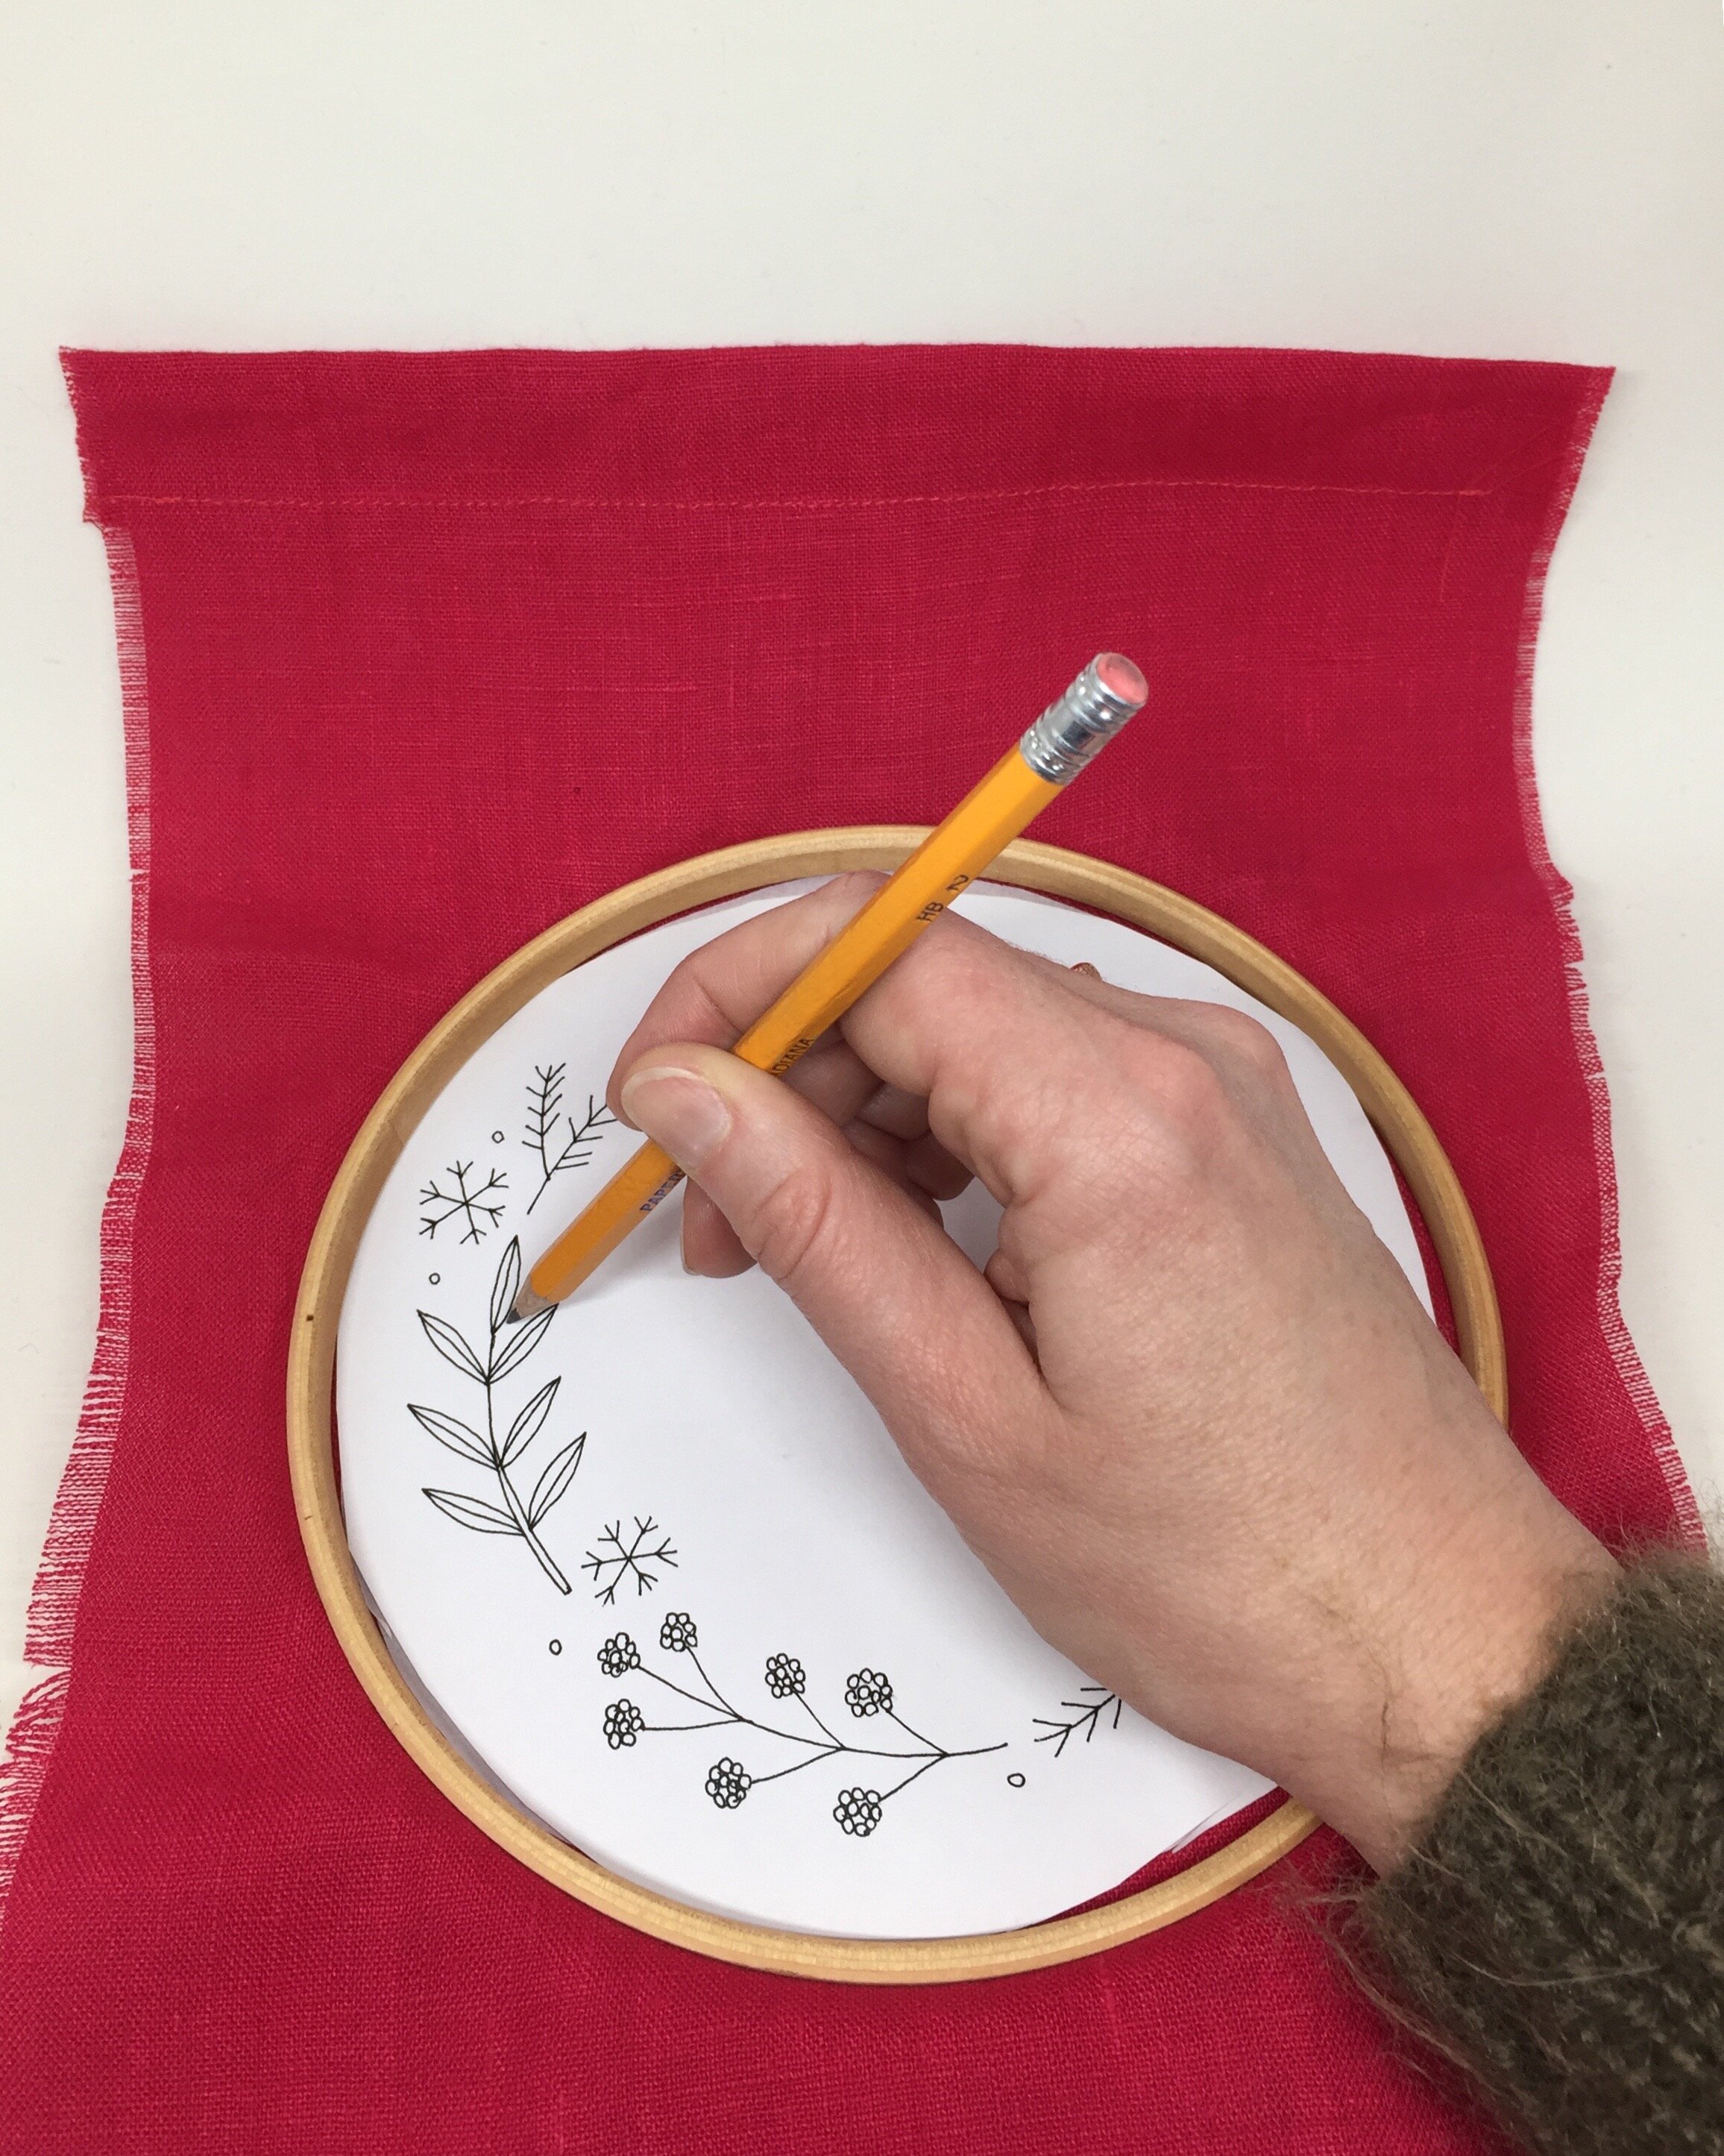
Flip the hoop over so the fabric can lay flat on a hard surface. Place the transfer paper shiny side down inside of the hoop, then place the pattern on top of the transfer paper. You can orient the design in whichever way you choose. Use a stylus, pencil or pen to trace the pattern through the transfer paper onto the fabric
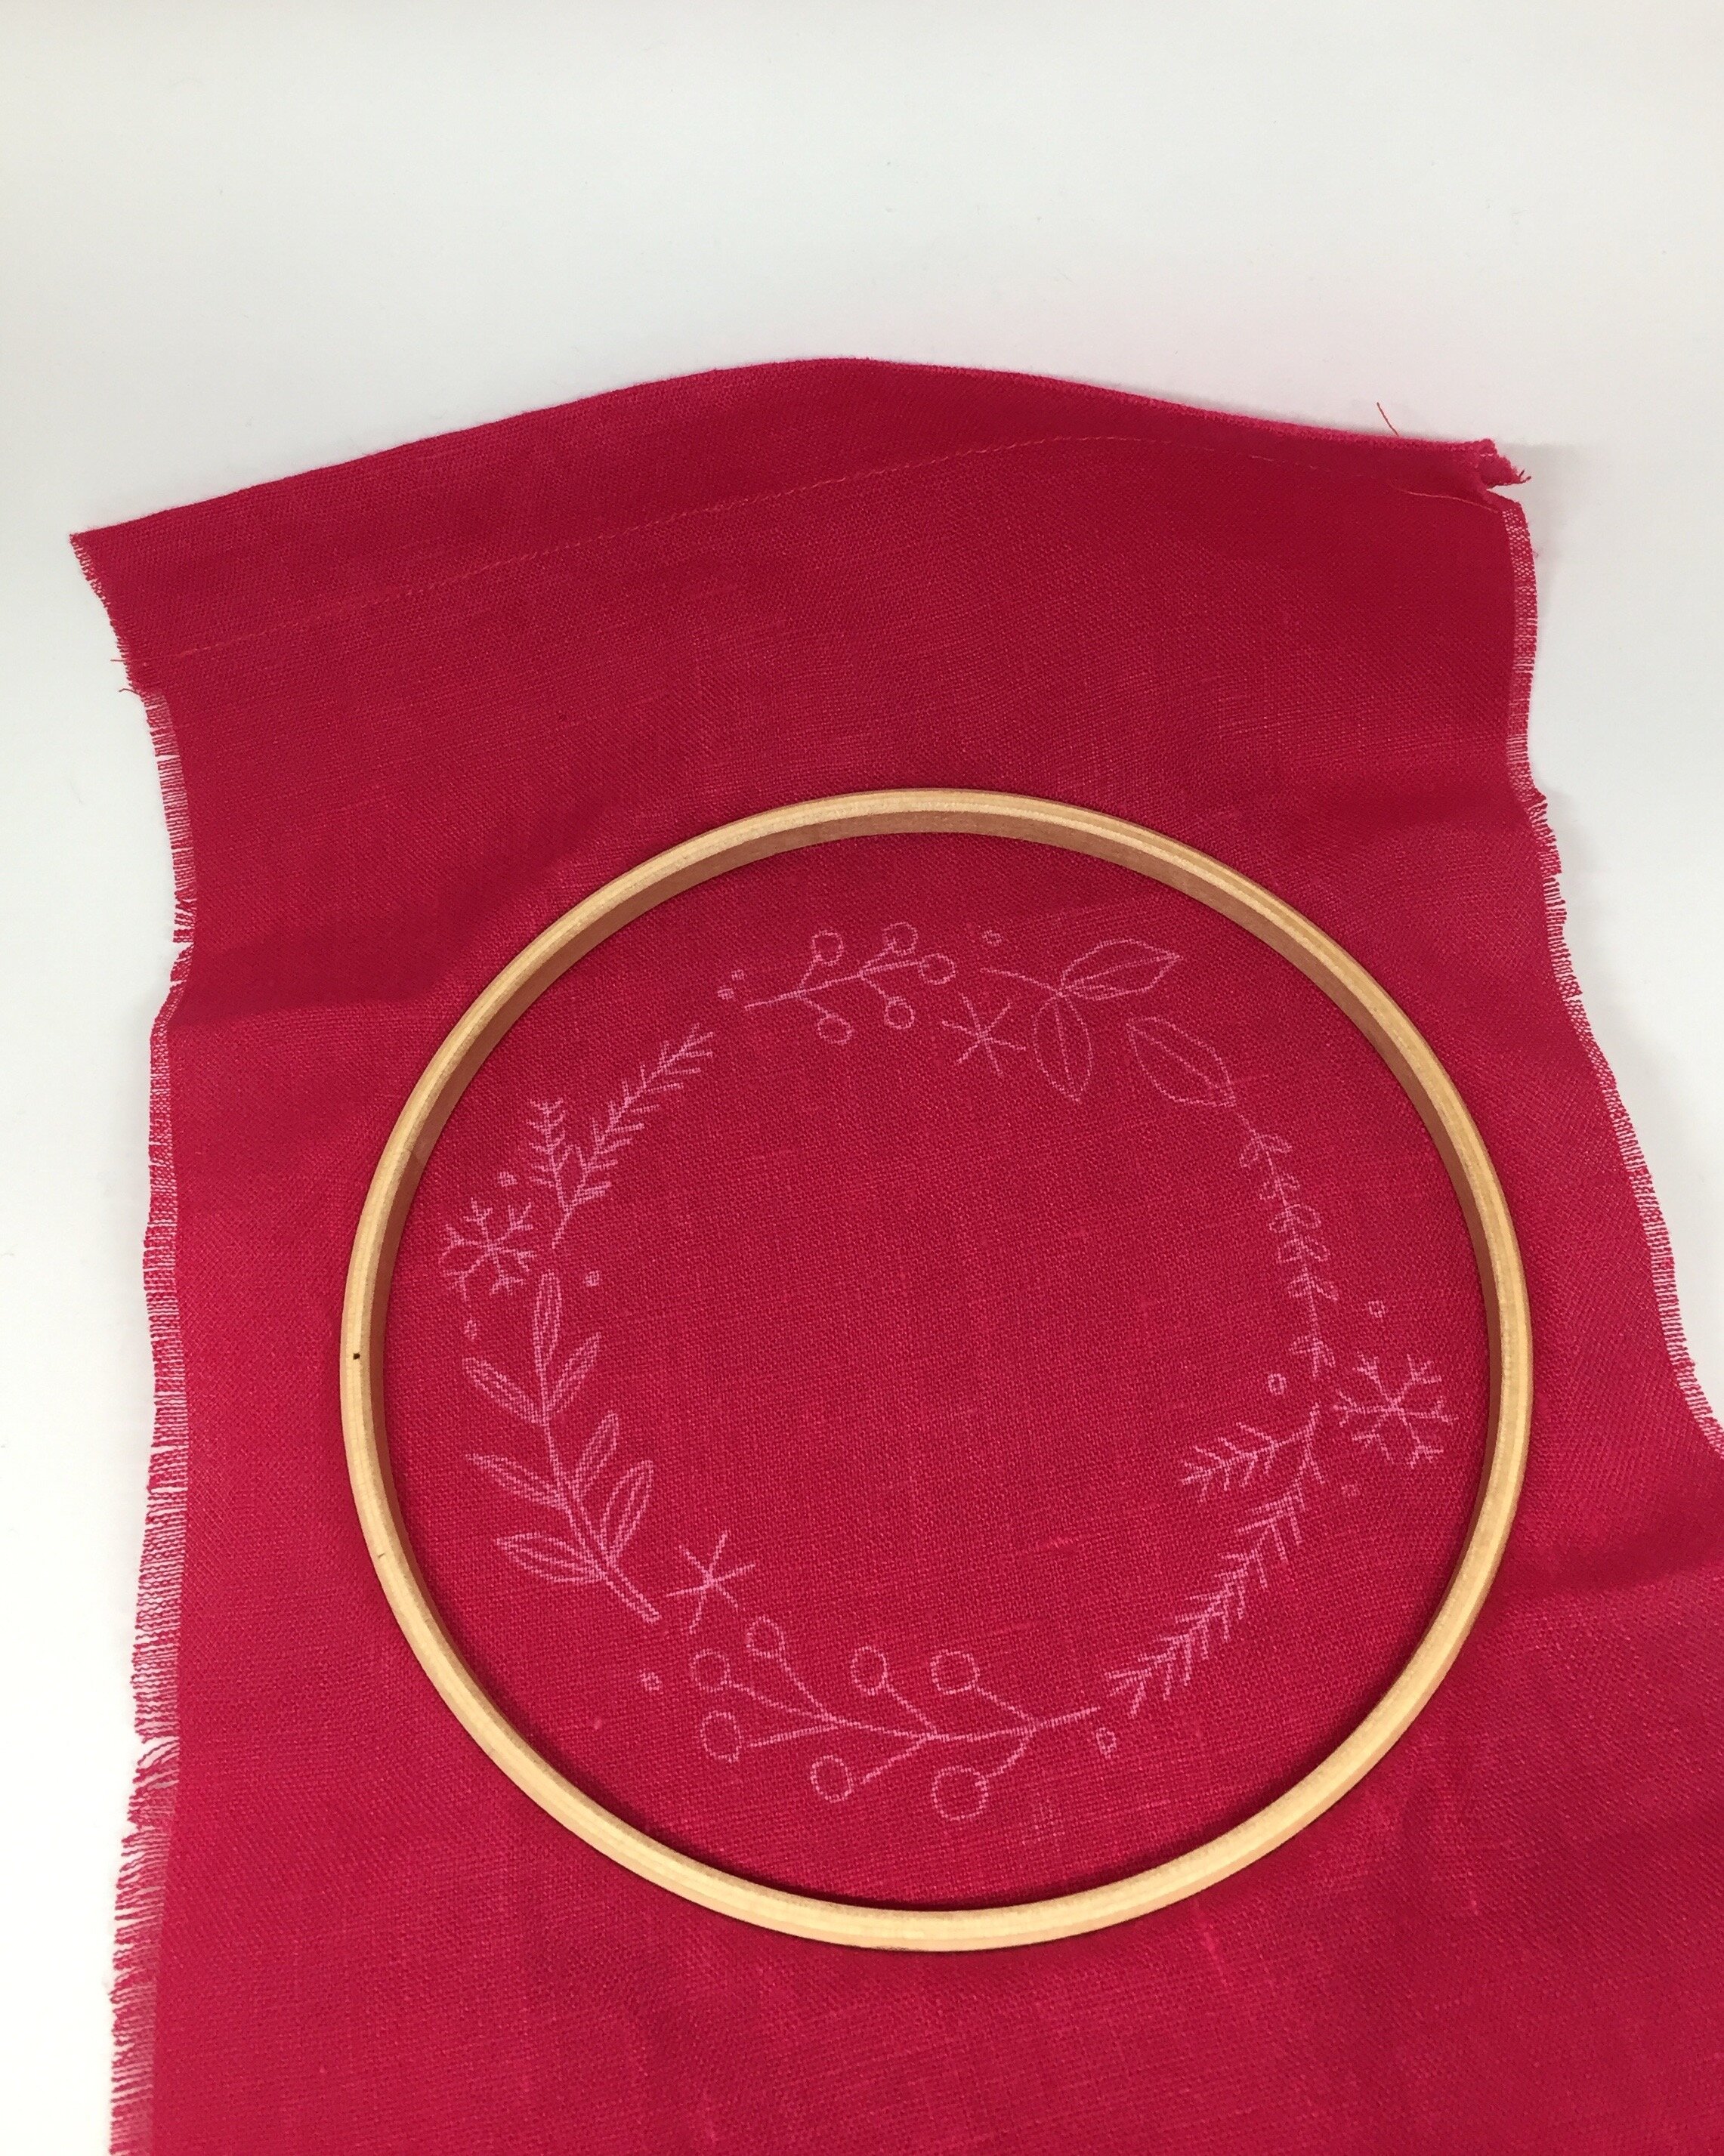
Remove the pattern, transfer paper, and the hoop
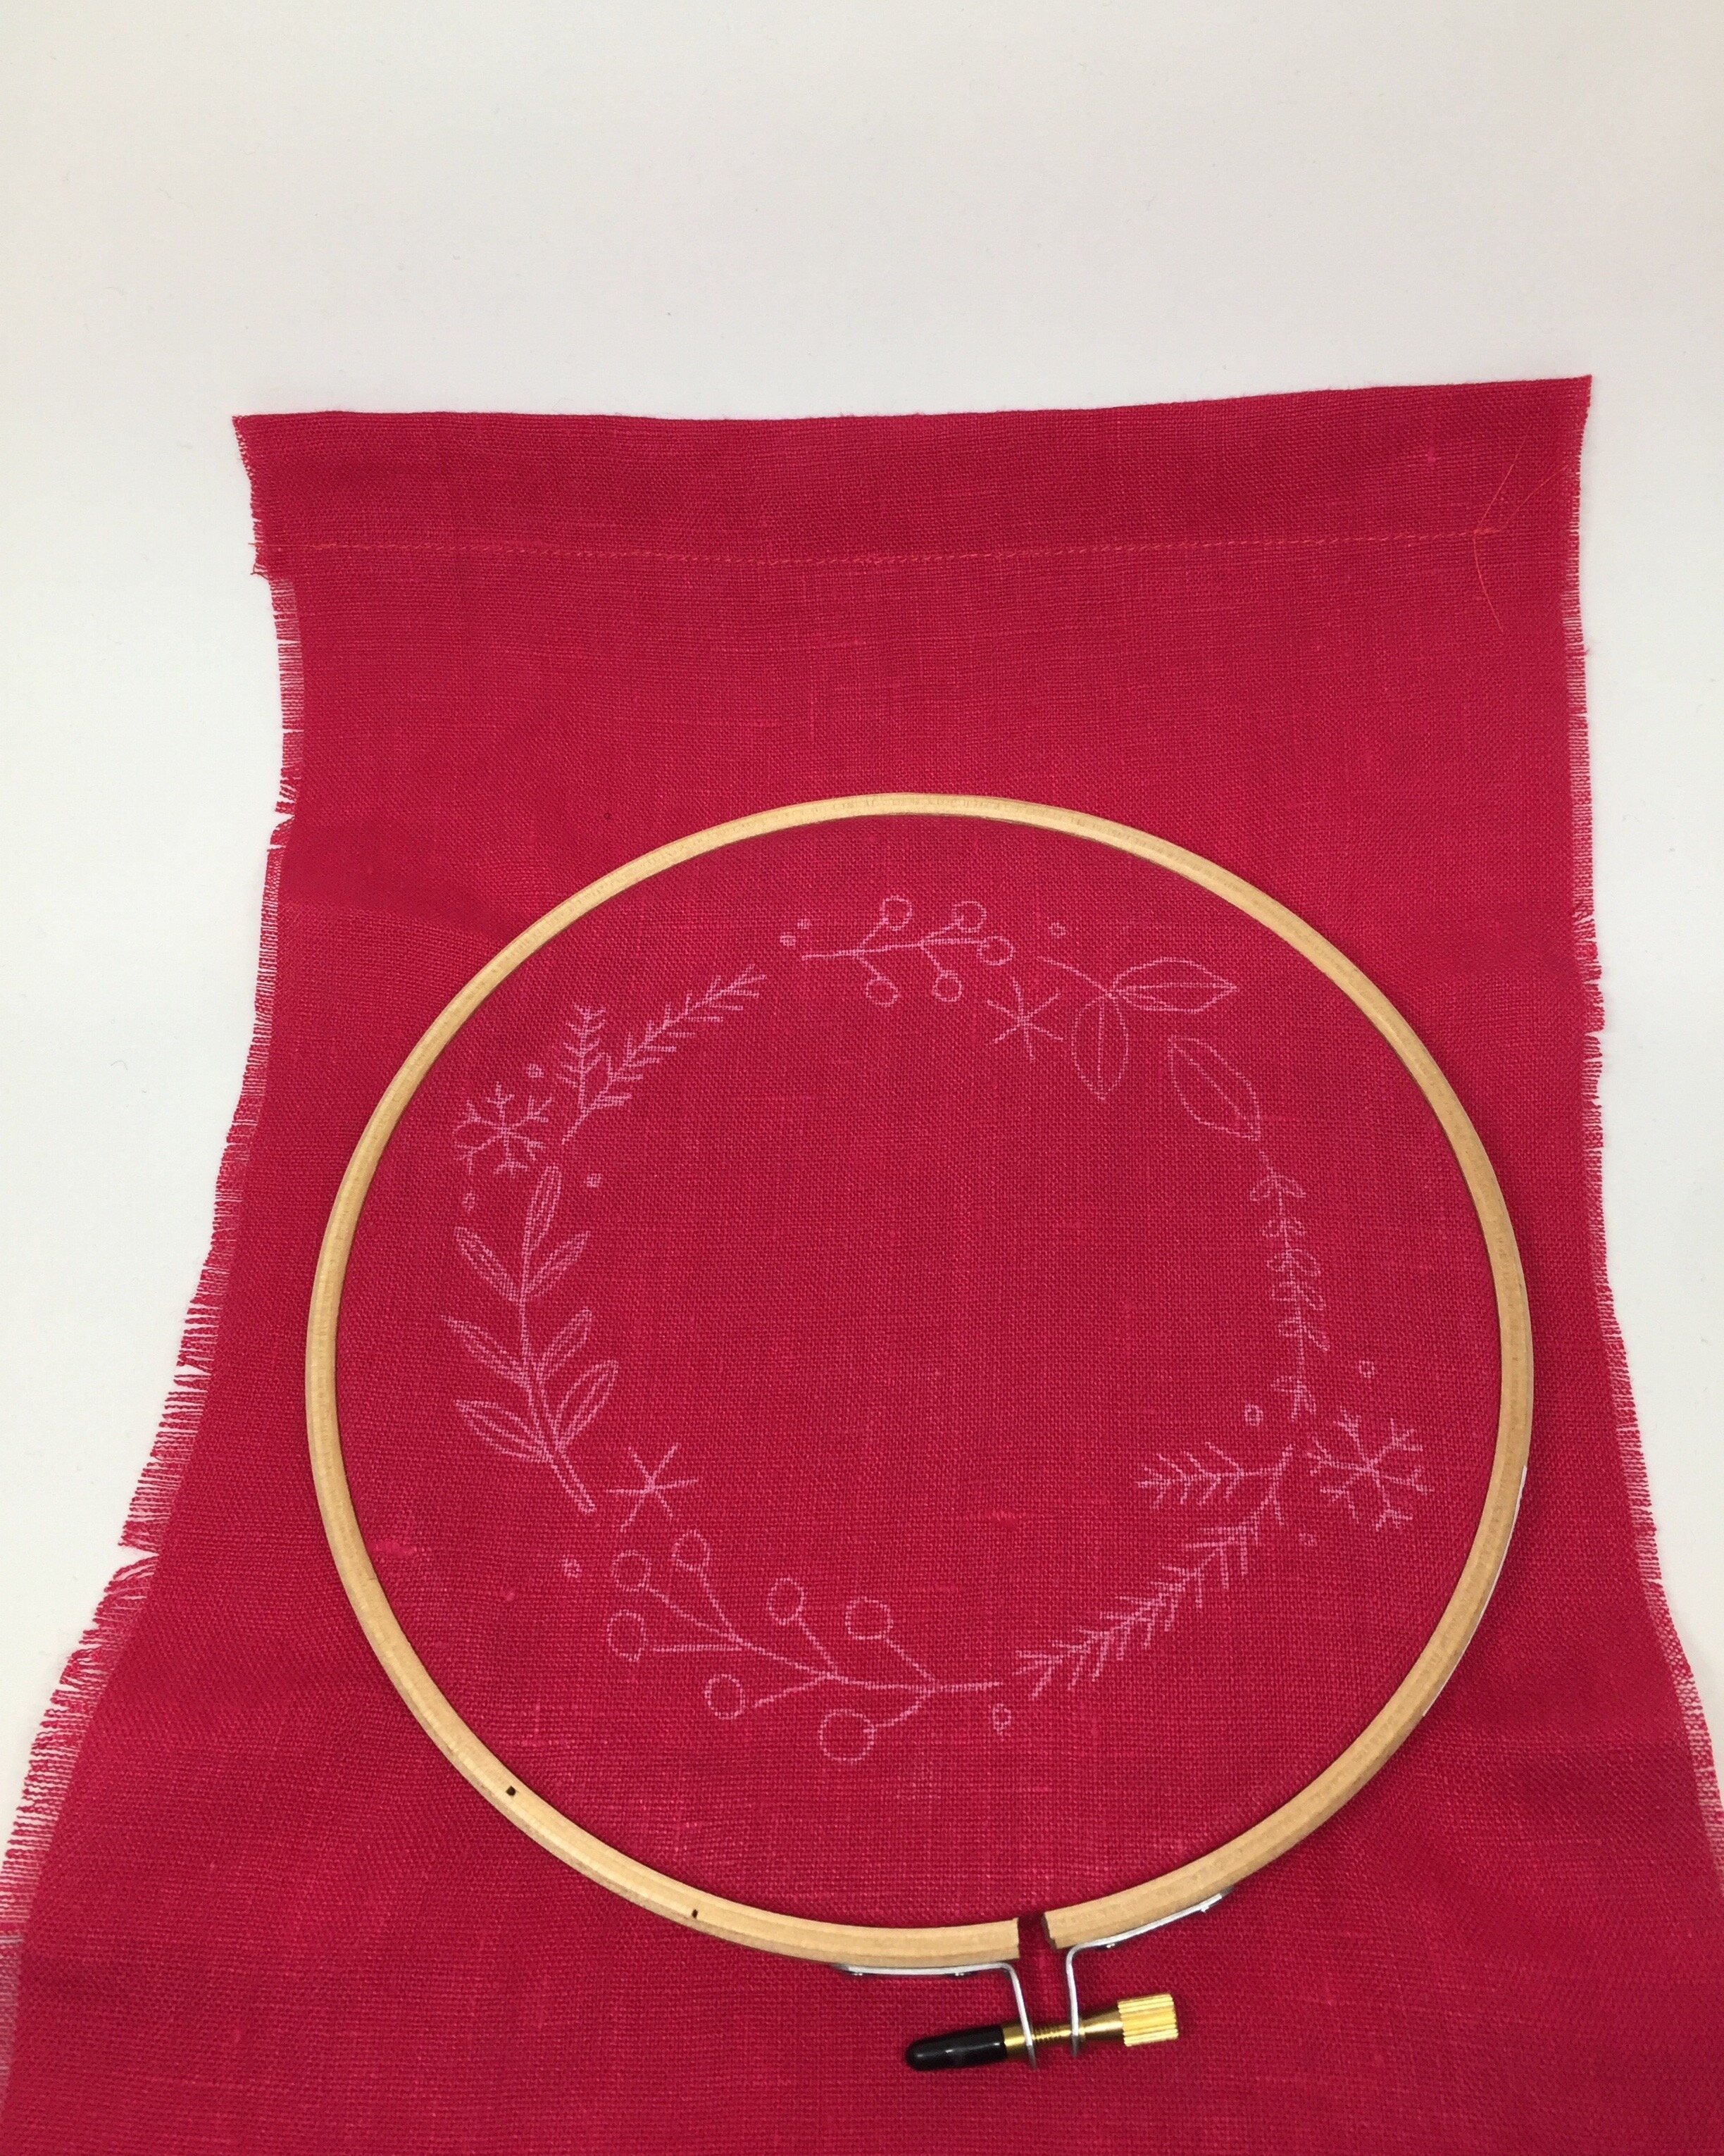
Flip the fabric over so the pattern is facing up (right side of the fabric), place the inner half of the hoop under the fabric, centre the transferred pattern on top of the bottom half of the hoop, place the outer part of the hoop on top of fabric and press the two sides together. Pull the fabric taut on all sides
You’re ready to start embroidering!
Note: Don’t leave your fabric in the hoop for long periods of time or you won’t be able to get the mark from the circle out of the fabric. The transfer colour comes off with a damp cloth.